The Honangen Sword A Legendary Blade of Wisdom and Light
In a world full of magical stories, old legends, and ancient treasures, there is one name that shines bright and…
In a world full of magical stories, old legends, and ancient treasures, there is one name that shines bright and…
Have you ever used a mobile phone to call someone, send a message, or use the internet? Phones are smart…
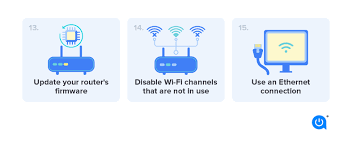
Do you ever feel like your internet is slow? Maybe your video keeps stopping, or your game takes too long…
Have you ever been really hungry but didn’t want to leave your home? Maybe it was raining, or you were…
Visual Studio Code, also called VS Code, is a computer program that helps people write code. Code is the language…
Do you love sharing your ideas, posting pictures, writing stories, or simply exploring fun and creative content online? If yes,…
In the world of text editors, UltraEdit stands out as a versatile and powerful tool designed for programmers, developers, and general…
In today’s digital landscape, understanding user behavior is crucial for improving website performance and conversion rates. Crazy Egg is a…
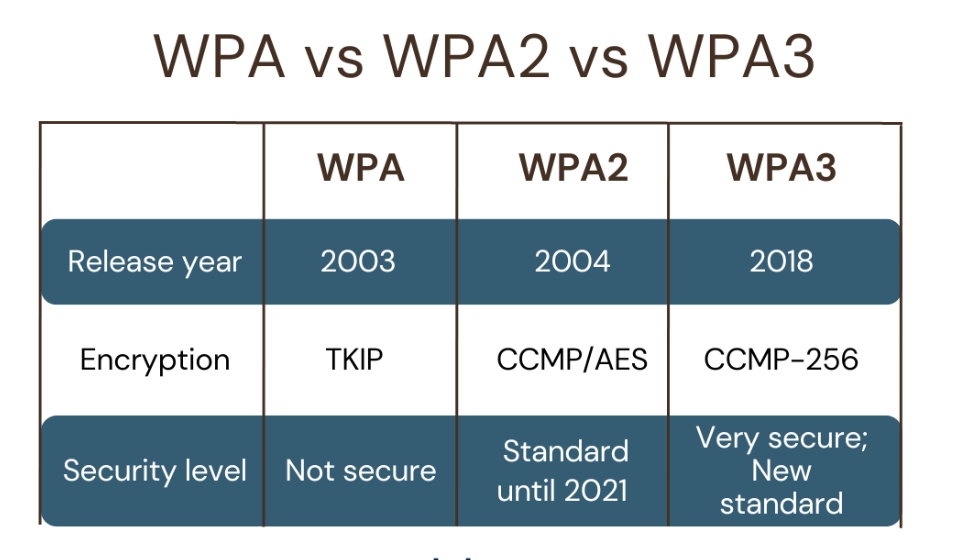
Understanding WPA2 and WPA3 for Maximum Wi-Fi Security In an era where cyber threats are constantly evolving, securing your Wi-Fi…
Video editing has become an essential skill in today’s digital landscape, whether for professional projects, social media content or personal…