Open Broadcaster Software (OBS) is a powerful, open-source software used for live streaming and recording. It has gained immense popularity among content creators, gamers, and professionals due to its flexibility, high-quality output, and customization options. OBS is widely used for streaming on platforms like Twitch, YouTube, and Facebook Live, making it an essential tool for anyone interested in live broadcasting. In this article, we will explore OBS in detail, covering its features, installation, configuration, advanced settings, and common troubleshooting tips. Whether you are a beginner or an experienced streamer, this guide will help you make the most out of OBS.
What is Open Broadcaster Software (OBS)?
OBS is an open-source software suite designed for video recording and live streaming. It is available for Windows, macOS, and Linux, making it an accessible choice for users across various platforms. The software is free to use and continuously updated by a dedicated community of developers.
Key Features of OBS
OBS comes with a wide range of features that make it a preferred choice for streamers and video creators:
- High-Quality Streaming and Recording: OBS supports high-definition (HD) and even 4K video recording and streaming.
- Multiple Source Support: Users can add various media sources, including webcam feeds, game captures, browser sources, and more.
- Scene and Source Management: OBS allows users to create multiple scenes and switch between them seamlessly.
- Audio Mixer: The software provides a built-in audio mixer with per-source volume adjustments, noise suppression, and filters.
- Customizable Transitions: OBS offers various transition effects for switching between scenes.
- Plugins and Extensions: Users can extend OBS’s functionality with community-developed plugins and scripts.
- Studio Mode: This feature allows previewing and modifying scenes before making them live.
- Hotkeys and Macros: OBS supports customizable hotkeys for quick access to essential functions.
- Multi-Platform Support: Compatible with Windows, macOS, and Linux.
- Low CPU Usage: Optimized for minimal system resource consumption, ensuring smooth streaming and recording.
How to Install OBS
Installing OBS is a straightforward process:
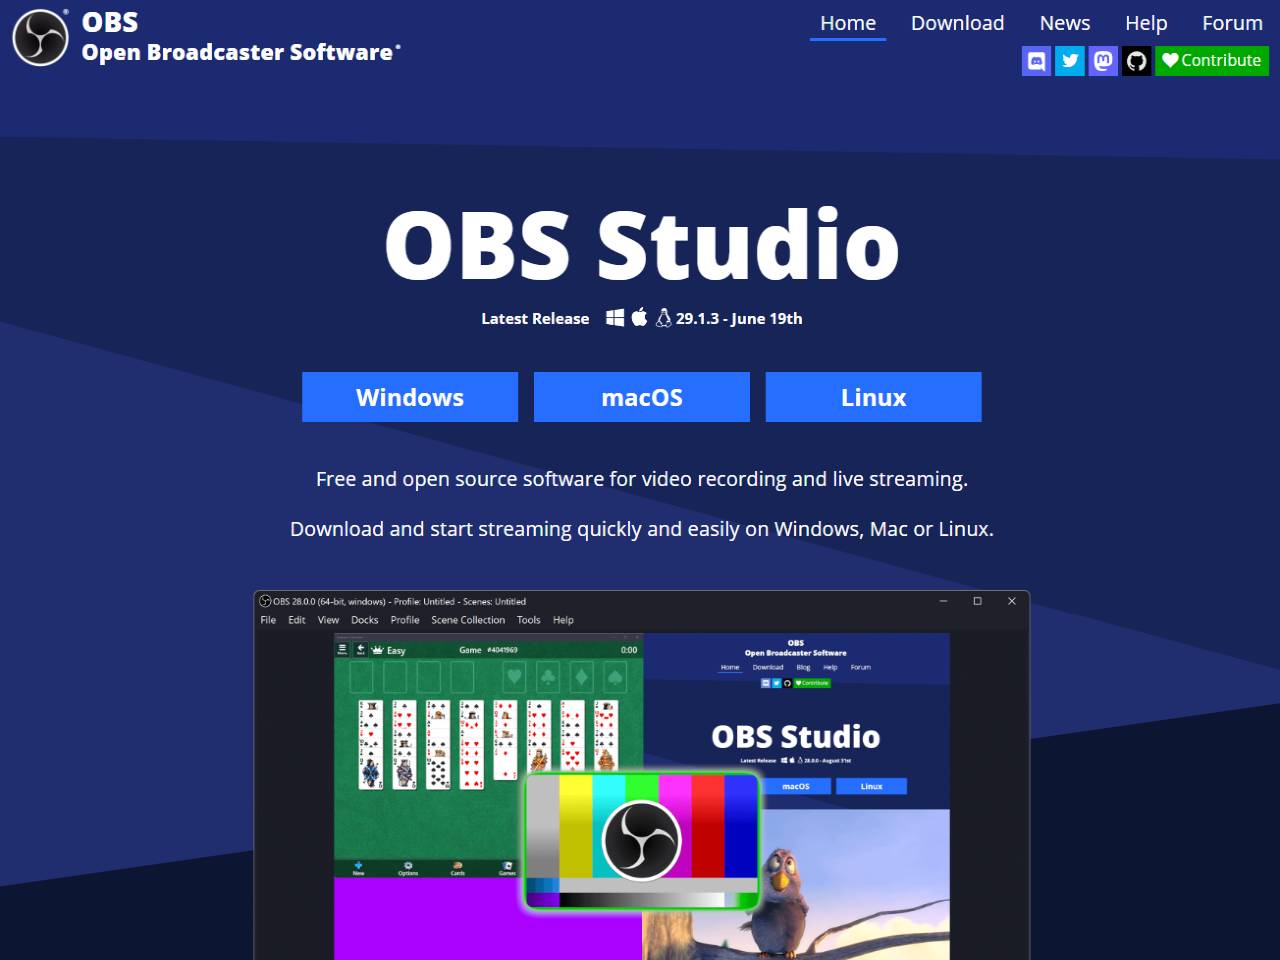
- Download OBS: Visit the official OBS website (https://obsproject.com/) and download the version suitable for your operating system.
- Install OBS: Follow the on-screen instructions to complete the installation.
- Launch OBS: Open the software and begin setting up your scenes and sources.
Setting Up OBS for Streaming
To start streaming with OBS, follow these steps:
- Add a Scene: Click on the “+” button under the “Scenes” panel and give it a name.
- Add Sources: Click on the “+” button under the “Sources” panel and choose sources like Game Capture, Window Capture, or Video Capture Device (webcam).
Configure Streaming Settings
- Go to Settings > Stream
- Select your preferred streaming service (Twitch, YouTube, Facebook Live, etc.)
- Enter your Stream Key (found in your streaming platform’s dashboard)
- Adjust Video and Audio Settings:
- Navigate to Settings > Video and set the Base and Output Resolution.
- In Settings > Audio, configure the sample rate and microphone settings.
- Start Streaming: Click the “Start Streaming” button to go live.
Recording with OBS
OBS also functions as a powerful screen recording tool. To record your screen:
- Choose a Recording Path: Go to Settings > Output and specify the folder where recordings will be saved.
- Select a Recording Format: Options include MP4, MKV, FLV, and more.
- Set the Video Resolution and Frame Rate: Adjust settings under Settings > Video for optimal quality.
- Add Sources and Scenes: Ensure that the content you want to record is correctly set up.
- Start Recording: Click the “Start Recording” button to begin capturing your screen.
Advanced Settings and Customization
For advanced users, OBS offers several customization options:
- Bitrate Control: Adjust bitrate settings under Settings > Output for better stream quality.
- Encoder Selection: Choose between software encoding (x264) and hardware encoding (NVENC/AMD VCE).
- Scene Transitions: Customize how scenes switch using transition effects.
- Filters and Effects: Apply effects like chroma key (green screen), noise suppression, and color correction.
- Multistreaming: Use third-party plugins to stream to multiple platforms simultaneously.
Common Troubleshooting Tips
If you encounter issues while using OBS, try these solutions:
- Laggy or Choppy Streams: Lower your bitrate and resolution to match your internet speed.
- Black Screen Issue: Ensure OBS has the necessary permissions and is capturing the correct source.
- Audio Desync: Use audio delay settings under Advanced Audio Properties to sync audio and video.
- Dropped Frames: Optimize encoding settings and close background applications consuming bandwidth.
- OBS Crashes: Update OBS to the latest version and ensure your graphics drivers are up to date.
Open Broadcaster Software (OBS) is a versatile and powerful tool for live streaming and recording. Its open-source nature, combined with a vast range of features and customization options, makes it an essential software for content creators, gamers, and professionals. By mastering OBS, users can create high-quality streams and recordings with ease. Whether you are new to streaming or a seasoned pro, OBS provides all the necessary tools to enhance your broadcasting experience. Download OBS today and start creating engaging content for your audience!